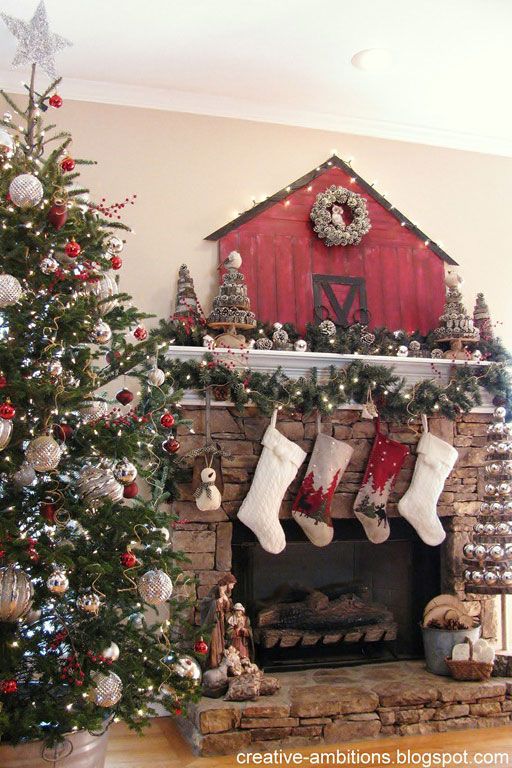
A few years ago I came across a picture from Southern Living Magazine of a Christmas Barn Themed Mantle on Pinterest. I decided immediately that I NEEDED this barn! Unfortunately, I never prioritized the barn on my schedule because you know Christmas is so far away I have plenty of time. So much time that I went several Christmases without my barn.
Fast forward to last Christmas. With less than a month we decide to throw a Christmas Party for friends and I finally had the incentive I needed to create my barn.
I use the word “Create” because when I went back to look at the original picture I realized that the barn although it looked like it was made out of individual slats was likely a single piece of wood painted to give that impression. I don’t trust my artistic ability enough to do that kind of shading so I decided to make use of a our recently torn down fence.
Recycle the Fence
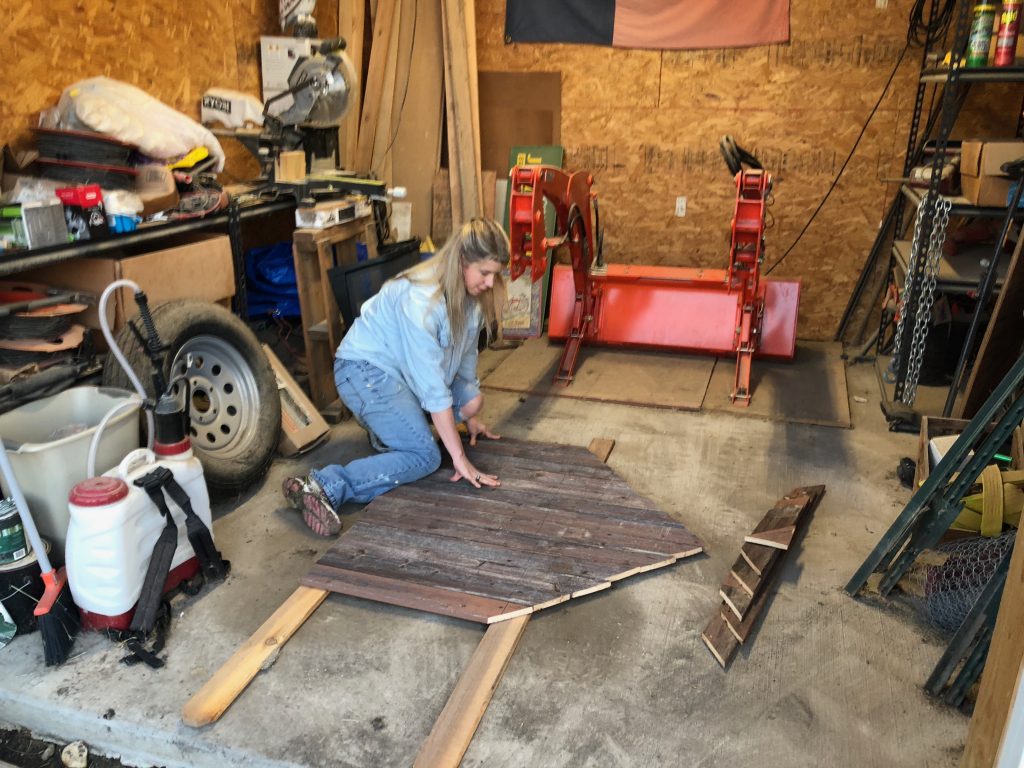
Fence slats to the rescue! I first measured out the size I wanted for my barn. I wanted BIG! This sucker is 45 inches across and almost 45 inches high. It is 13 fence slats across.
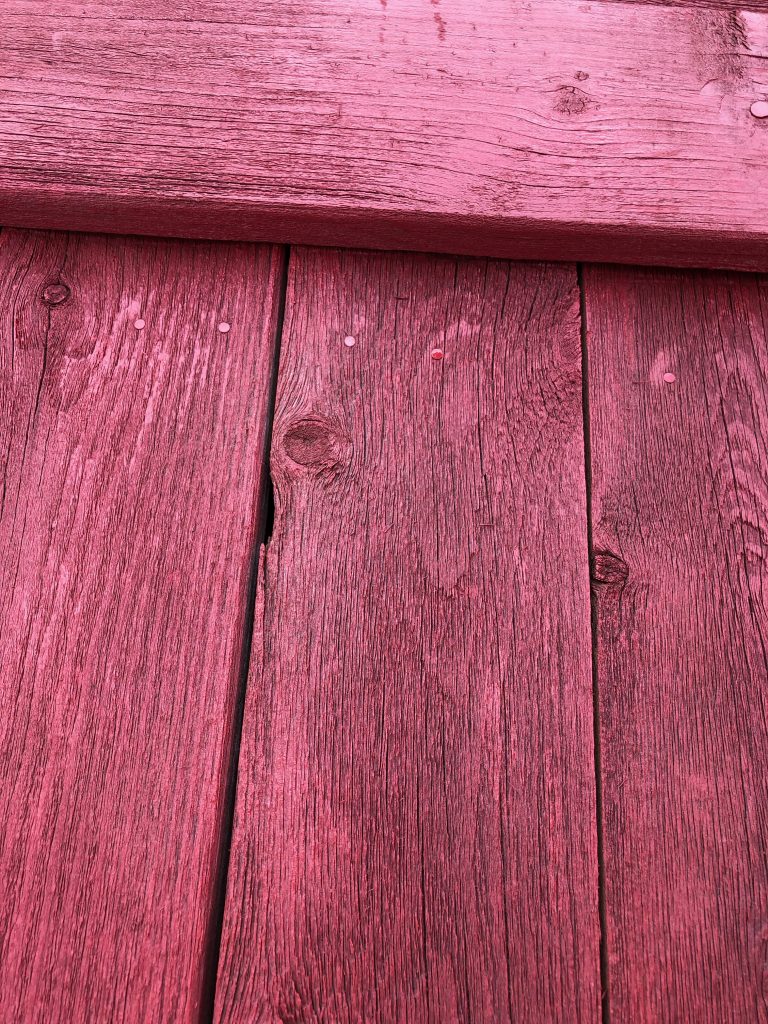
My 9 year old and I used a crow bar and hammer to dismantle the fence slats and remove nails. Crow bars, if you have never used one, are waaaaay more fun than I ever anticipated and they make quick work of pulling off planks. We had to hammer out the old nails, too.
I chose the least rotten of the planks to use for the project and laid them out on the ground to measure out the top of the barn. So far this project is fairly easy, the only tricky part is the roof.
Roof Design
As I mentioned before the original barn does not have individual pieces. I considered making the top just be flush with the wooden pieces on the body of the barn but it has to all connect somehow and it seemed more cumbersome so I decided I would just double up and have the roof be directly nailed into the lower wooden “barn body” pieces.
Word of Caution: This barn is heavy! The double layers on the top portion add some serious weight.
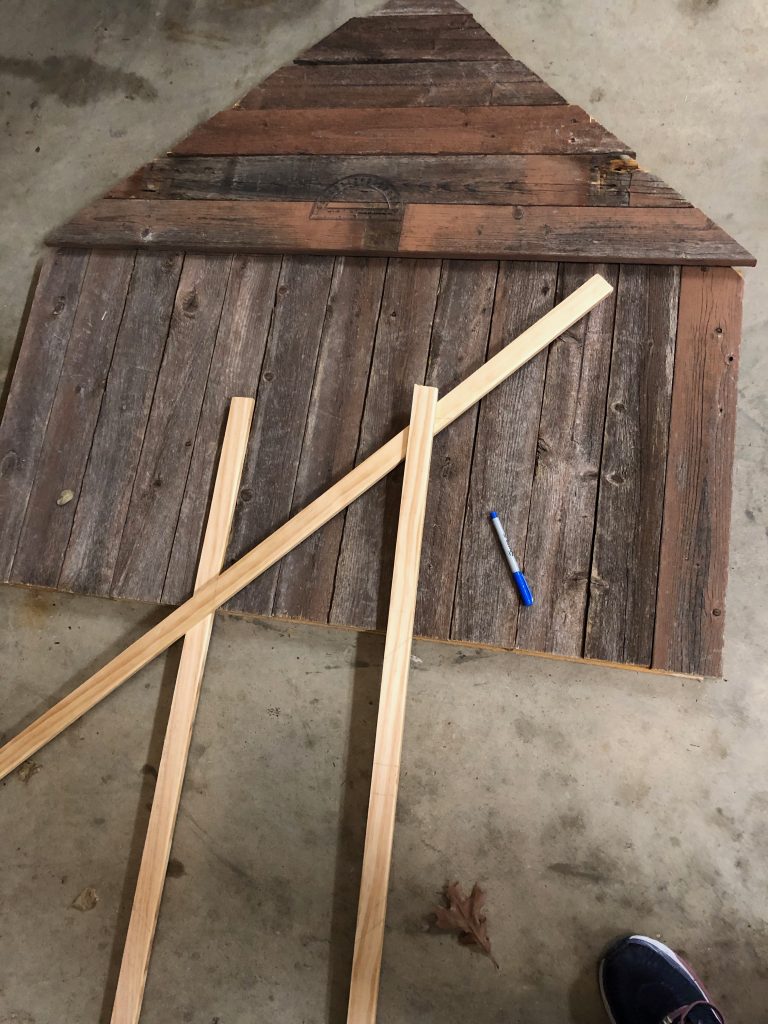
I laid wood slats perpendicular to my original slats from the top of the height down until I reached the lowest portion of the roof and then drew lines for where I wanted the roof line to be so I would know where to cut.
The tricky aspect is then marking the boards you have underneath so you can cut them at an angle that won’t show on the sides of the roof. There were a few that I cut a little too short so I’ve corrected those measurements to what I wish I had done in the original to provide a better look.
All of this marking was also complicated because I was trying to use the portions of the boards without any rot or too many holes. If you use new boards it would be way easier but less recycle-y.
After making all the lines I then cut them on our table saw.
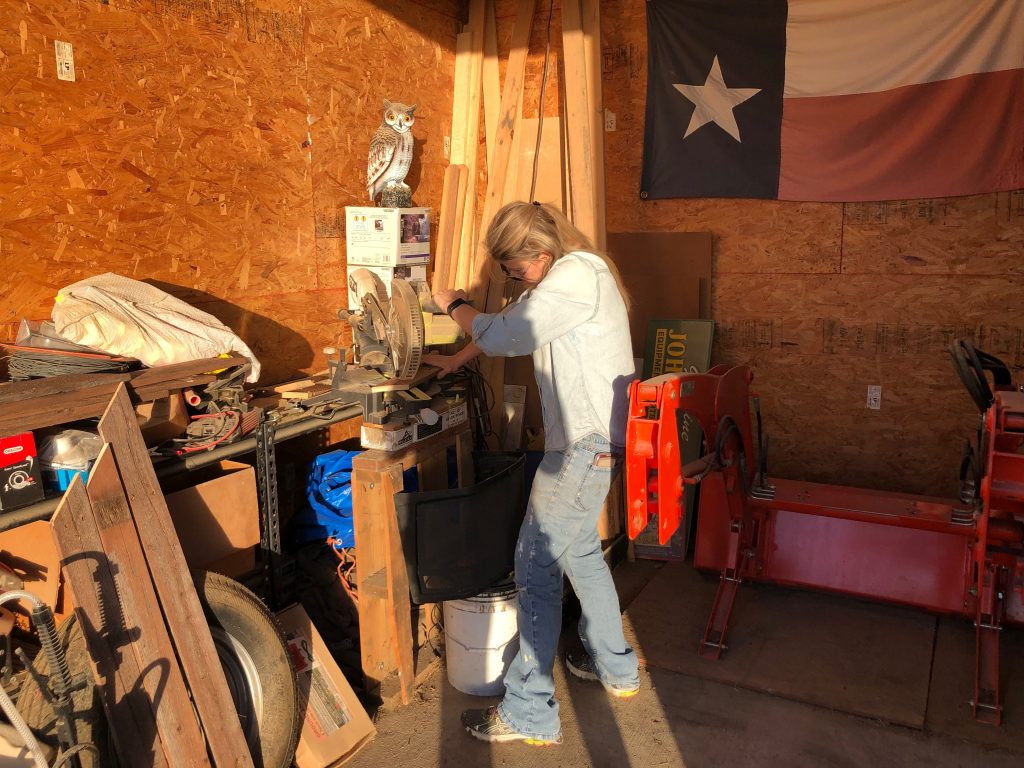
I found two boards to run across the back of the body of the barn. One at the middle and one on the bottom. You want to make sure your nails are long enough to go through all the wood.
Assembly

I then attached the roof using the same size nails. You can see the pencil mark along the top of the barn in the above picture where the lowest part of the barn roof will line up. It is basically half way up the total barn height.

Paint
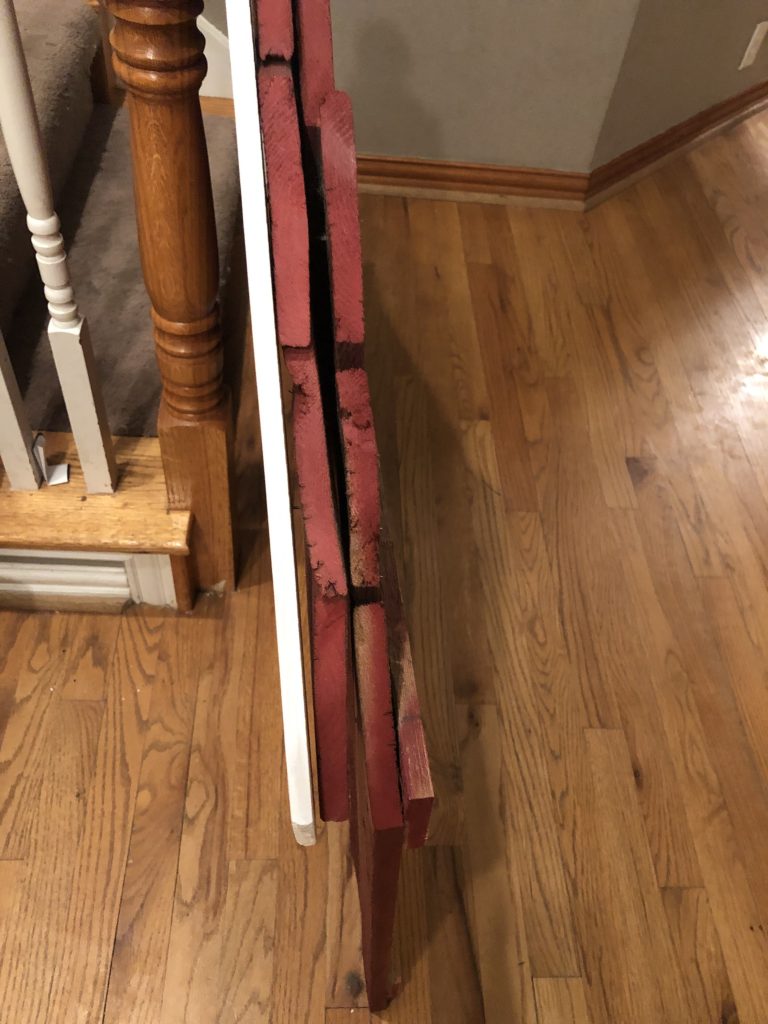
Red paint was up next. I went for a darker red color but you could also do a bright red barn depending on the type of look you are going for on your mantle. Part of me likes the weathered look of the fence wood even without paint, too.
I purchased thinner boards for the roof edging and door. This material was easily cut with a handsaw but make sure you measure carefully. I screwed this up the first time and accidentally cut the wrong line which lead to the purchase of an extra board.
Once cut I painted these white and attached with finishing nails. Attaching these to the roof made me wish I’d been a little more exact about my angle measurements on the roof so that the board would cover the edge completely but I think it turned out close enough.
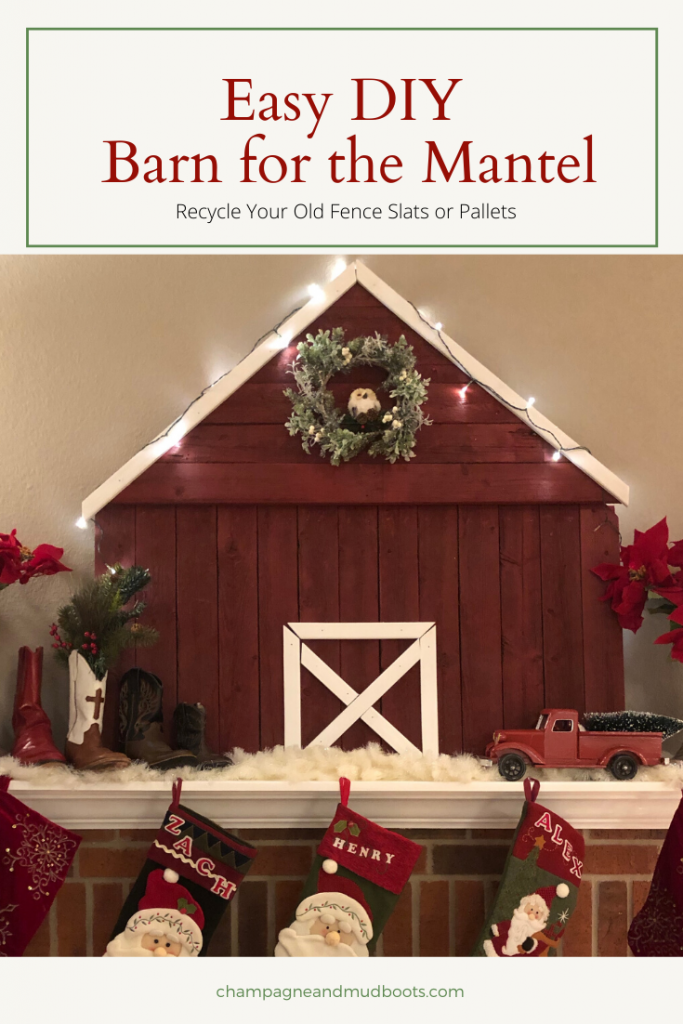
Final Product
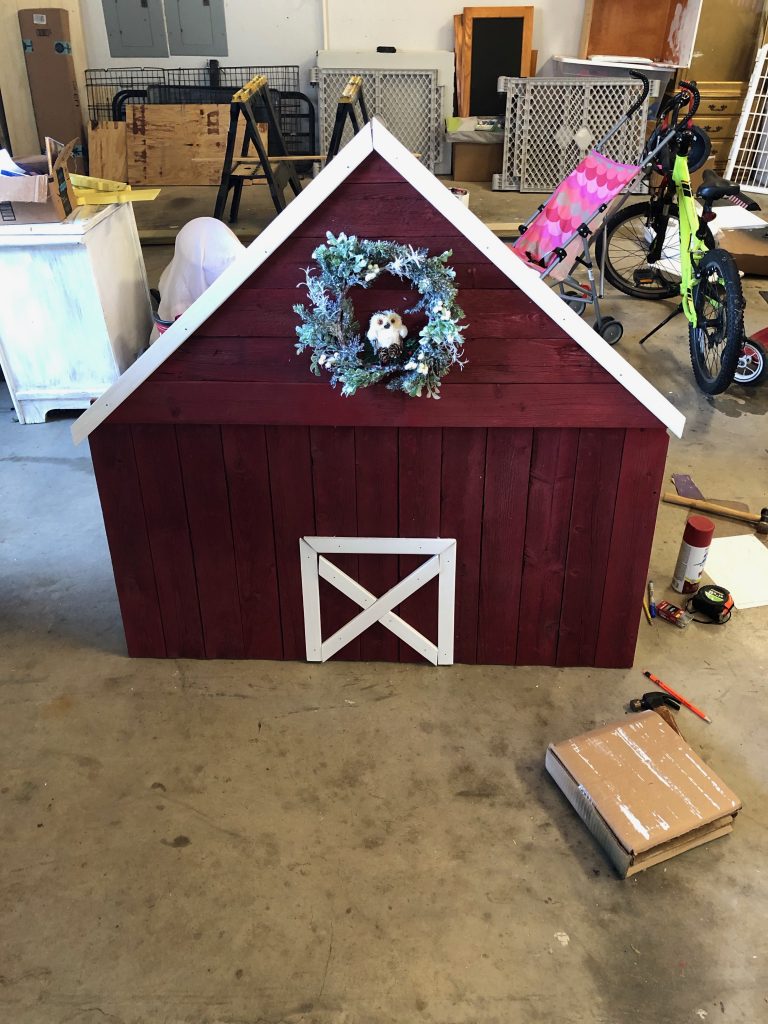
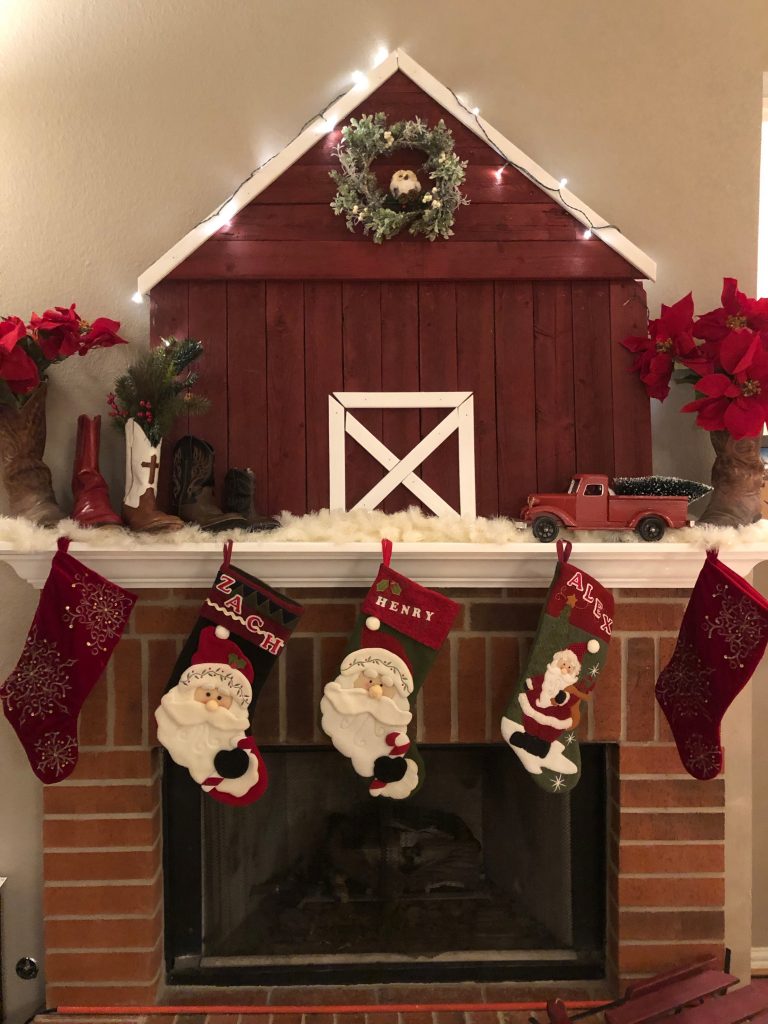
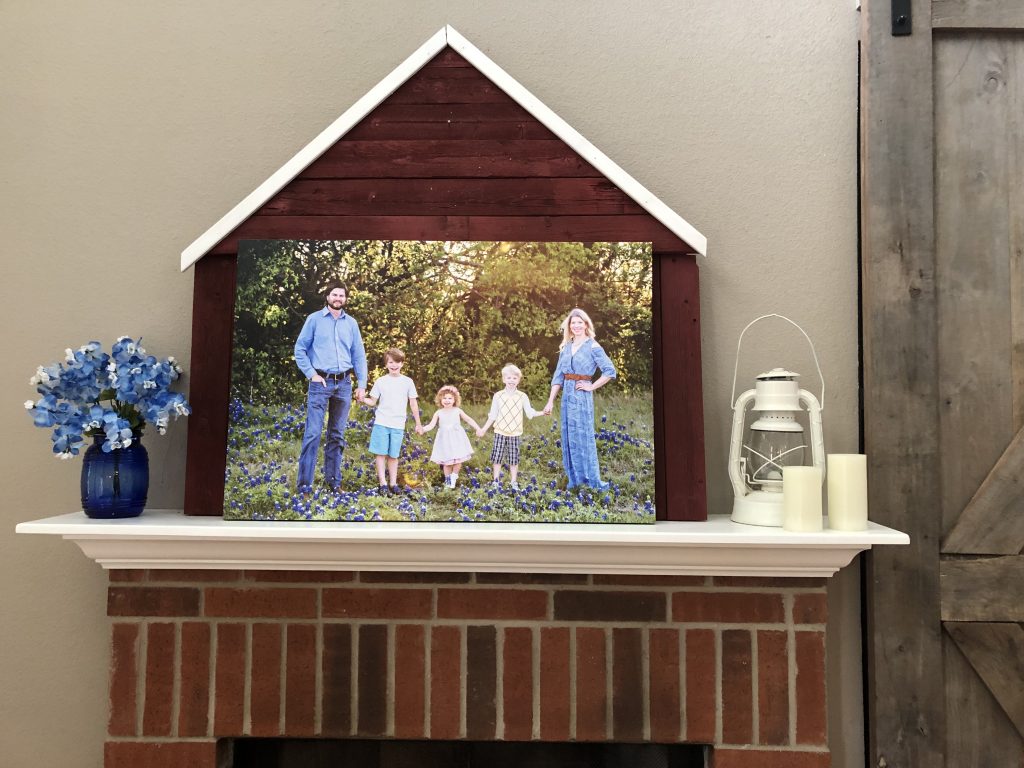
I added a nail at the top for the wreath with the little snow owl. I took the wreath off for my spring mantel with the bluebonnet pictures.
There are so many possibilities for the mantel barn. You can really let your imagination run wild and have fun with it. If you build your own barn please send me pictures I would love to see them! Happy Hammering!
