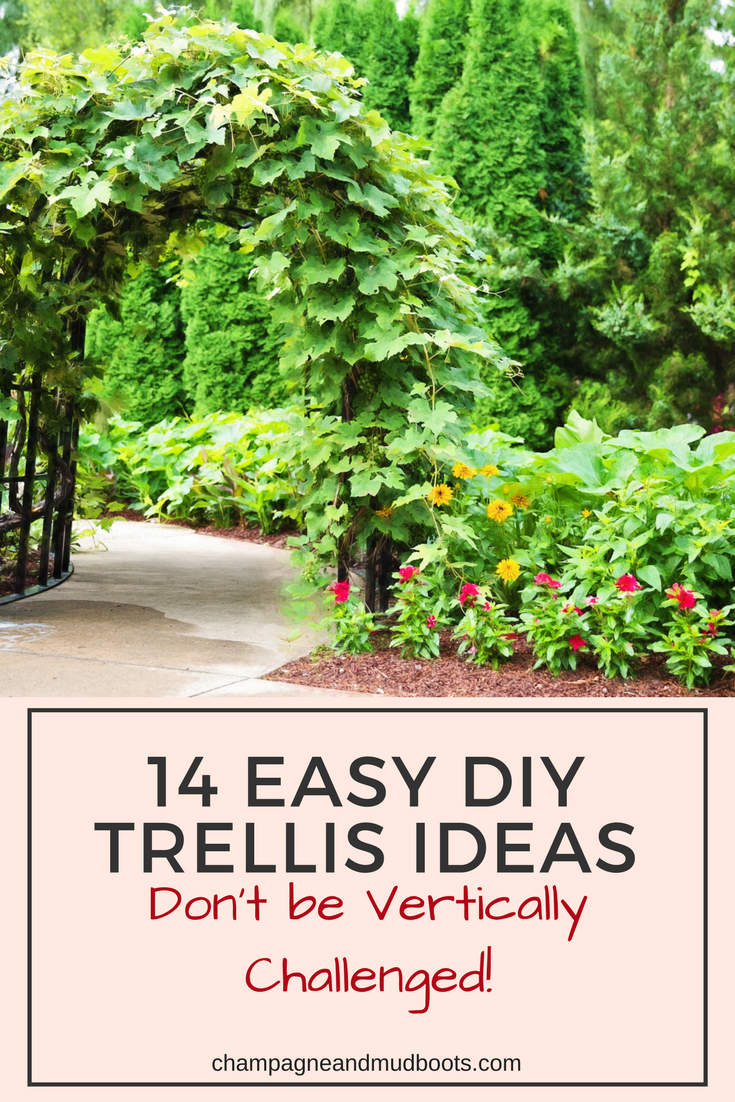
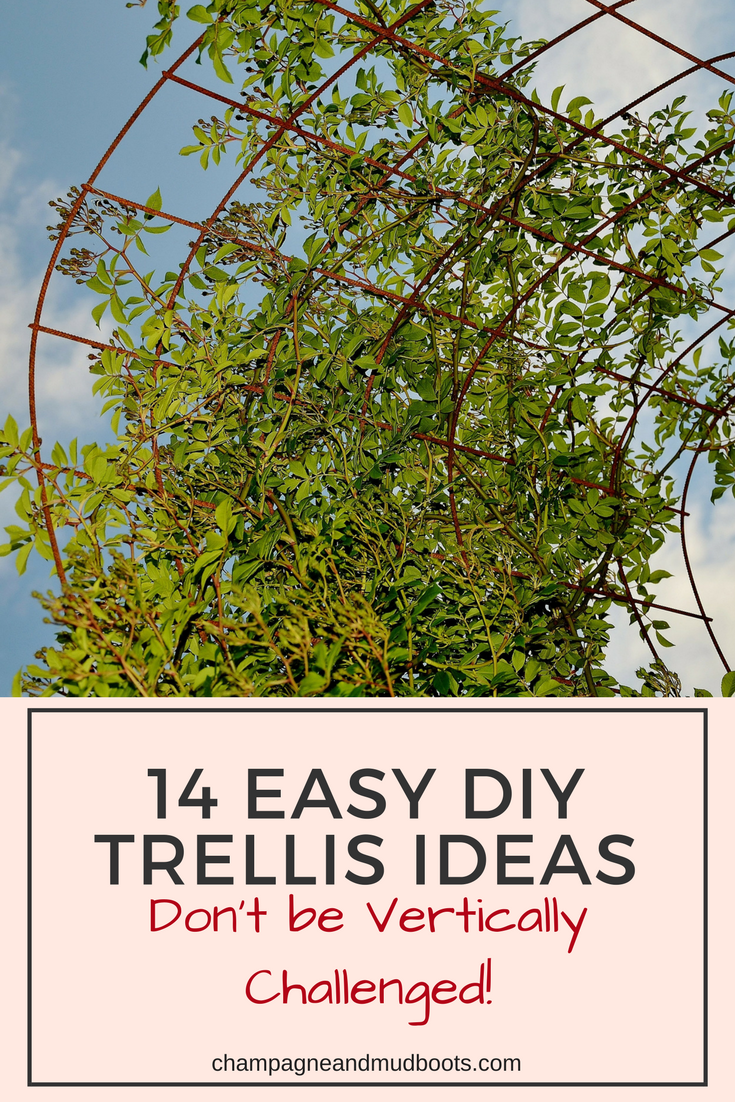
One of my garden goals this year is quite lofty, as in going high and vertical! These are the best easy DIY trellis ideas I have found for the vegetable garden. It may be cold outside now, but Spring gardening will soon be here and a little prep work, creating support structures, will give you a jump start on your planting this year!
I began researching trellis options since I want to increase my gardening space and prevent the cucumber take-over of the tomato cages that happened last year. I was so naïve as to how aggressive those vines would be winding their way around everything in their path. It is a fascinating aspect of nature that we should use to our advantage rather than let it hinder us.
Considerations
Permanent or Temporary
One of the first decisions to make with a trellis is how permanent you would like the design. If you have an established garden and you know for sure which areas need vertical structures you may choose a more permanent design that remains in place year after year. However, if this is your first year going vertical, as it is for me, you may choose a more temporary set-up to make sure that you have the correct placement and a structure that serves all your needs. It would be a bummer to build a gorgeous arbor in your garden only to find it shades too much of the other garden areas and prevents growth of certain plants.
Strength
The second consideration is how strong does your trellis need to be for the types of plants you want to grow. A trellis for beans does not need to be as sturdy as one for heavier melons and a larger tomato plant will easily test a cage from the store especially if it is not properly staked into the ground.
It is with these ideas in mind that you can begin to sort through the available options for your garden.
Type 1: Flat Trellis
If you have a fence or wall that can be used to support a trellis or can anchor the trellis deep into the ground a simple flat trellis can serve your needs with minimal effort.
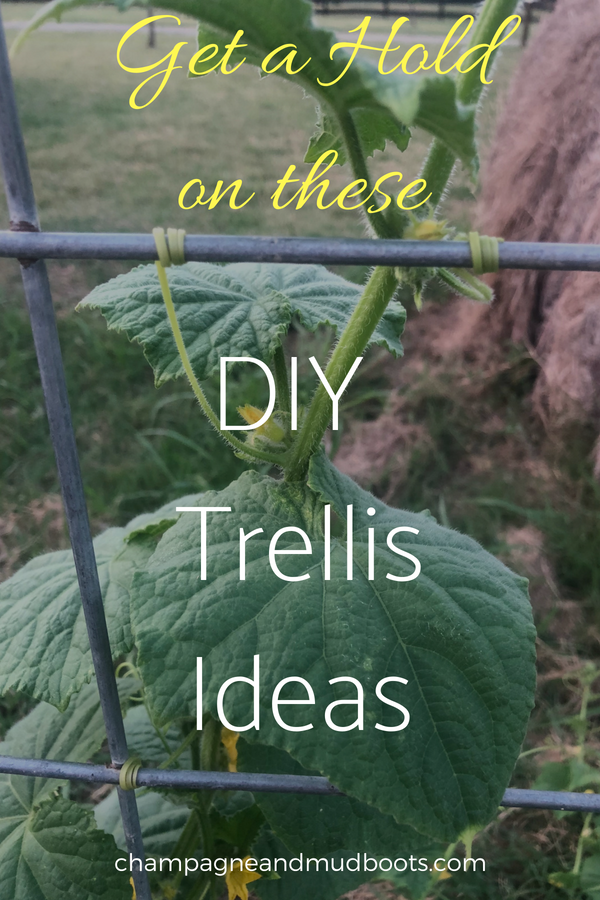
In fact, this is the type of trellis I used in my garden this past year. Not as pretty as some of these other trellises but quickly placed and using easily sourced materials. T-posts and cattle panels attached with zip ties. If you’ve never placed a T-post in the ground I highly suggest wearing ear plugs. Hammering those suckers in is crazy loud.
You also need to watch the angle you place them at in the ground. I would swear each time I had it completely vertical but in reality they leaned a little to the back and I had to correct them. I’m spatially challenged though so you may have an easier time of it!
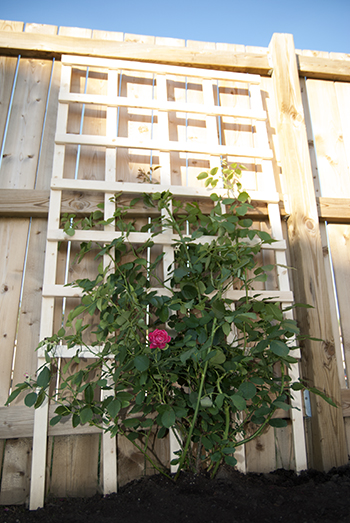
Photo Credit Stephanie White Travels
This super simple trellis from Stephanie White Travels is shown with a rose bush but can easily support vegetables such as peas or beans. The website provides step by step instructions to make this yourself for around $6 and if you know your measurements you could probably even have them cut the lumber at a Home Depot or Lowe’s saving you the time and expensive if you don’t have an electric saw.
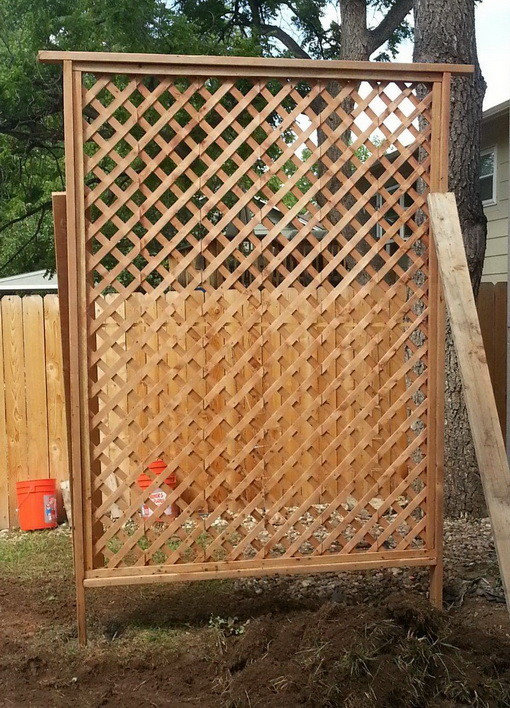
Photo Credit Remove and Replace
This flat trellis from Remove and Replace is a more substantial flat trellis and they actually dug 3 foot holes and poured concrete into them to make this trellis really stable. The downside is you better know for sure that you want a trellis before you go pouring concrete in your veggie garden. I envision something like this on the ends of raised beds where it provides a useful visual focal point.
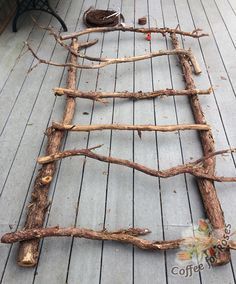
Photo Credit Coffee For Roses
Keep in mind that you don’t have to buy supplies for a trellis if you get a little creative. This rustic trellis from Coffee for Roses provides the structure your vines require while being both cost efficient and resourceful.
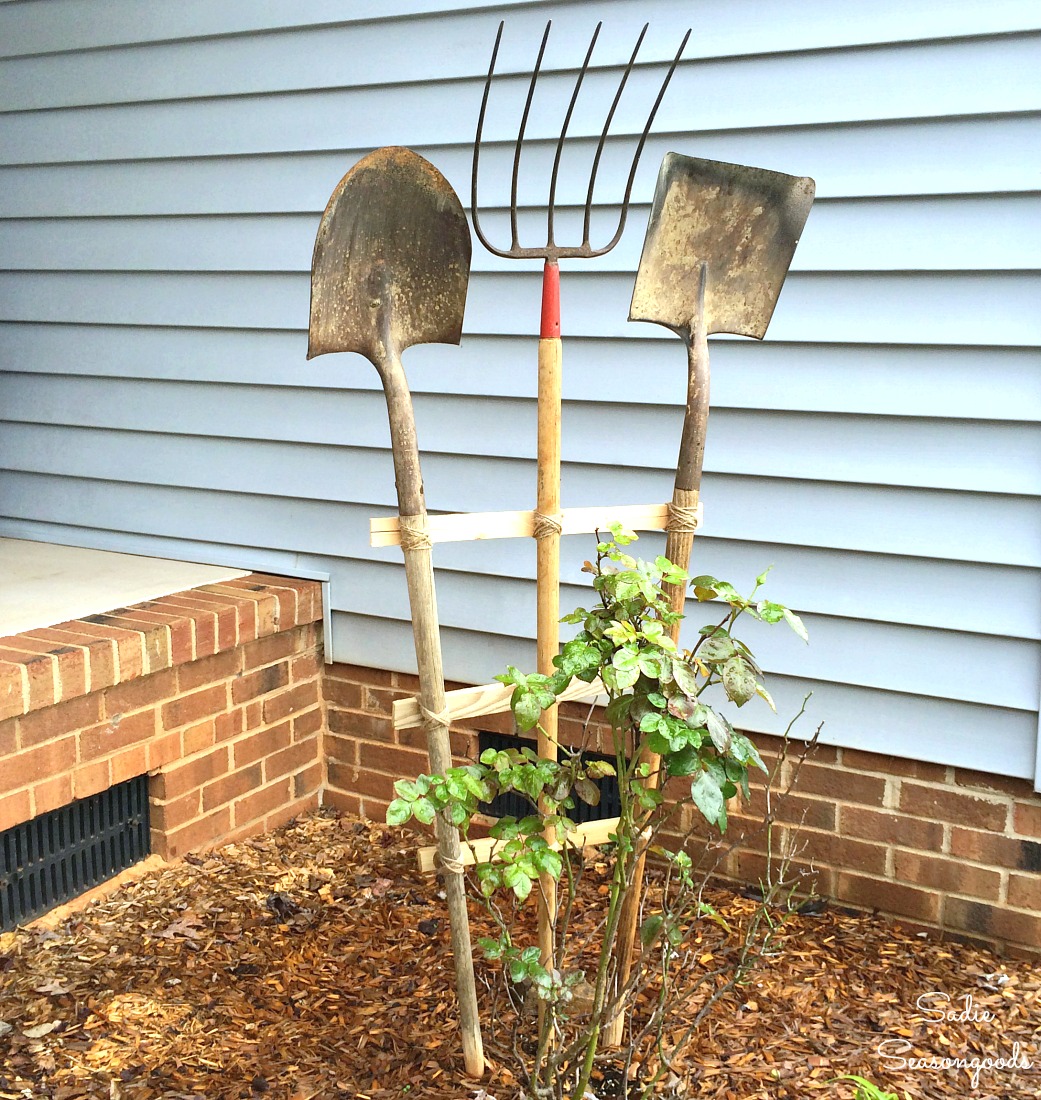
Photo Credit Sadie Seasongoods
Speaking of resourceful this trellis made from old tools by Sadie Seasongoods is functional, quirky, and fun! It doesn’t give a lot of growing room but it’s definitely a conversation piece.
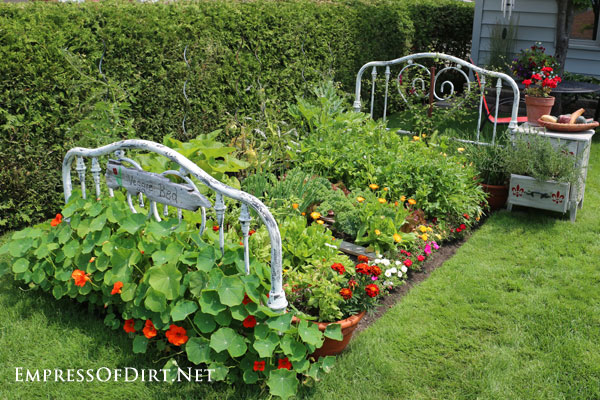
Photo Credit Empress of Dirt
The Empress of Dirt has this magical Veggie Bed. Bed frames aren’t super tall for a trellis but can you imagine how amazing it would be to have bed frames throughout the garden or on the ends of raised beds? It is whimsy after my own heart!
Type 2: A-Frame
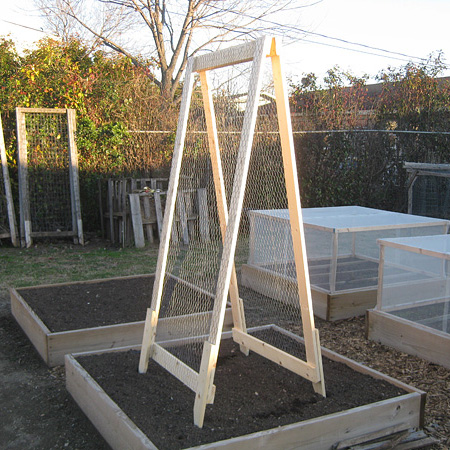
Photo Credit Vegetable Gardener
This nifty A-frame from Vegetable Gardener has hinges at the top so you can collapse and store it for the winter. The feet of the trellis are also easily removable so you can replace them since they will rot faster than the rest of the frame. The site has step by step instructions on how to build it.
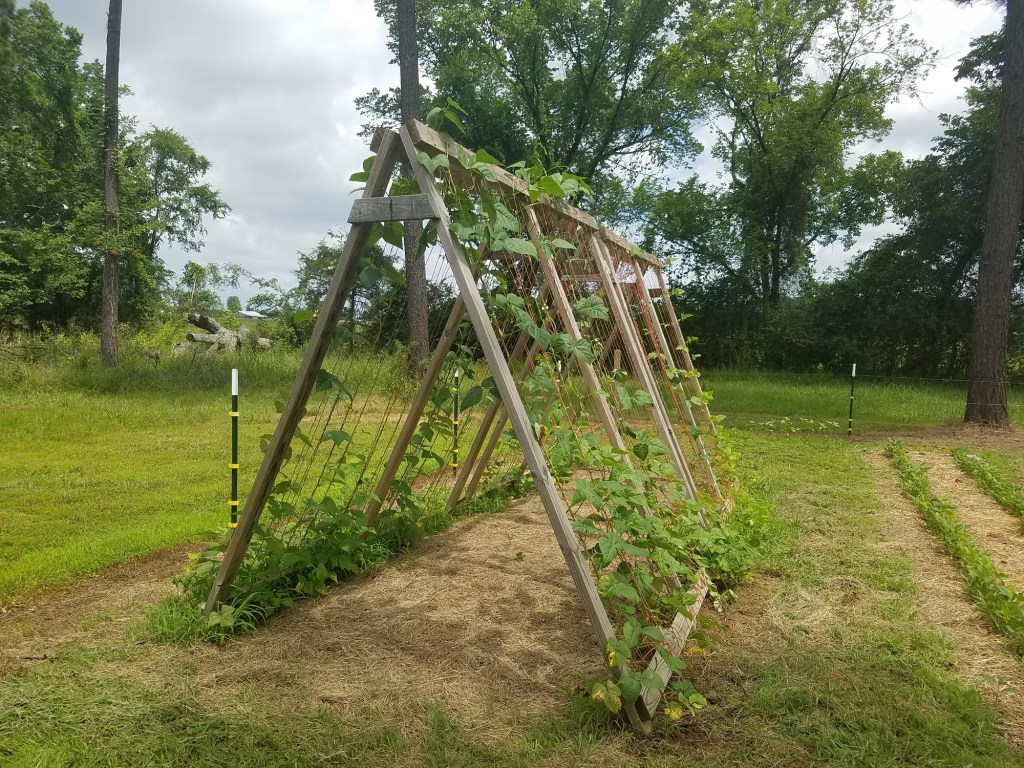
Photo Credit Journey With Jill
This particular trellis from Journey With Jill is moveable for crop rotation but does not collapse for storage. I love that on her site she shows her first less successful trellis with bamboo and the evolution to this sturdier creation. It uses baling string versus wire or more wood to provide the climbing structure for the beans.
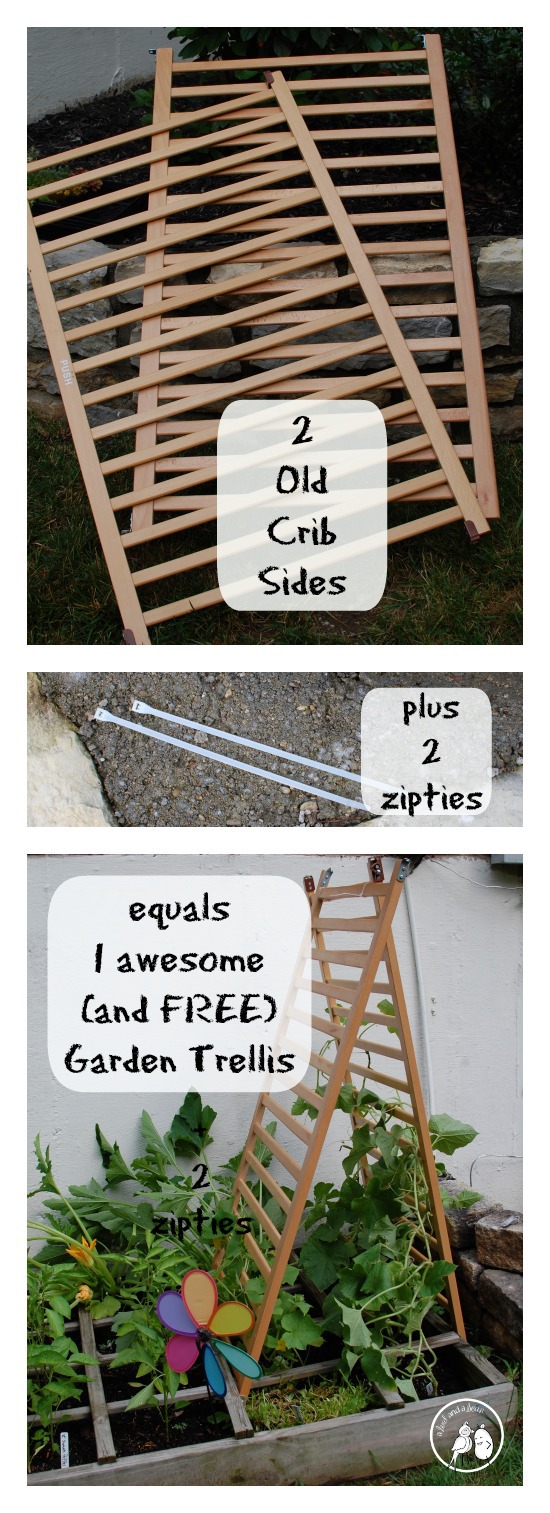
Photo Credit A Bird and a Bean
This genius trellis from A Bird and a Bean uses the sides from an old unsafe crib and zip ties to make a super fast and resourceful veggie support.
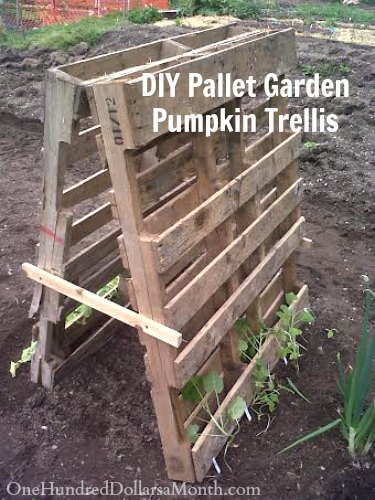
Photo Credit One Hundred Dollars a Month
One Hundred Dollars a Month shows another resourceful example using pallets as an A-frame trellis. They used it for pumpkins but any other vines would work as well. The only caution witkdown of h pallets is to make sure that they aren’t chemically treated since no one wants chemicals leaching into the food. Blech! In short look for the symbol HT for heat treated and steer clear if it says MB as this is a type of chemical treatment. The website 1001pallets.com gives a good breakdown of how to decipher pallet markings.
Type 3: Arch
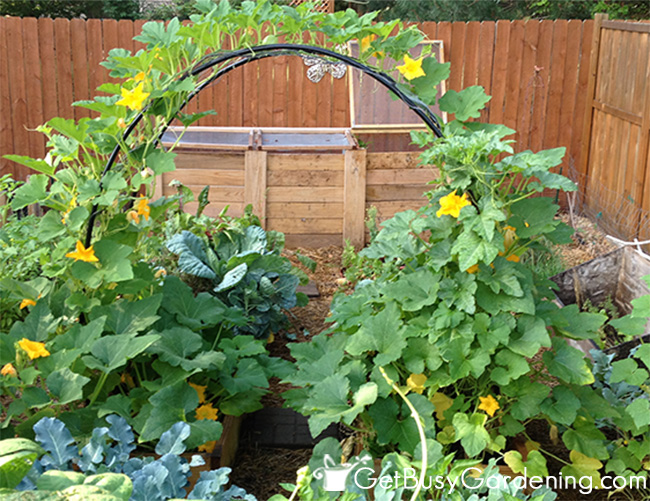
Photo Credit Get Busy Gardening
Don’t let the green color fool you, this trellis from Get Busy Gardening is really made from PVC pipe that’s woven through metal fencing. She provides instructions on her site and the whole thing is strong enough for squash!
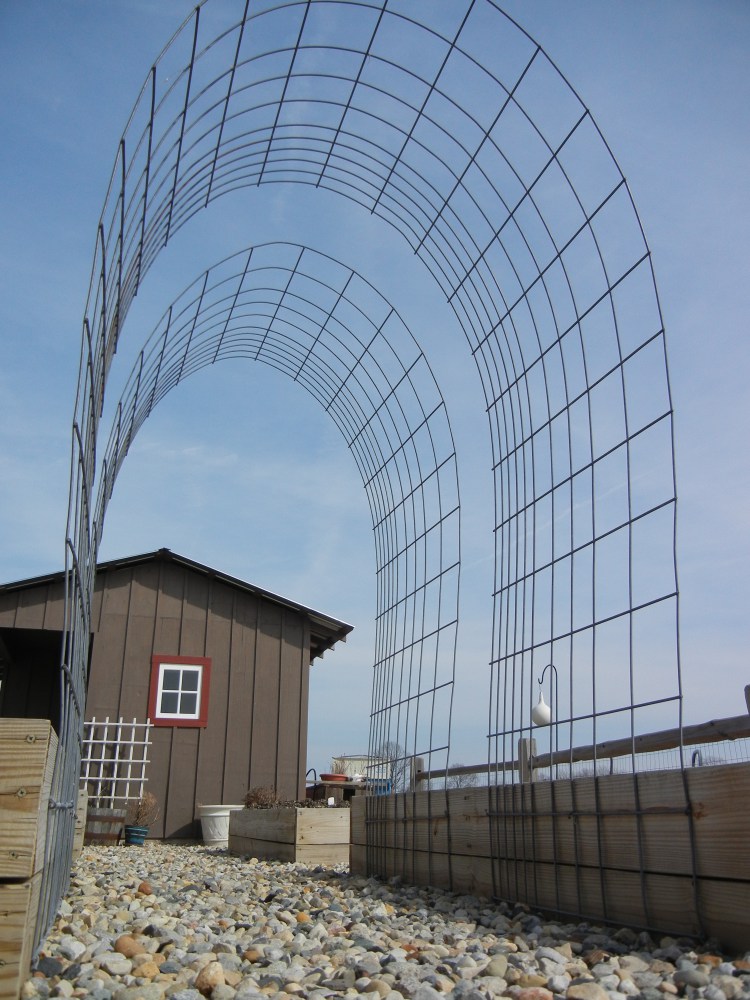
Photo Credit Deep Roots at Home
If you don’t need the extra PVC strength these cattle panels, secured with either nails to wood frames or run through t-posts, can provide a low cost, easy, and effective trellis. You don’t even have to bust out a saw! The tutorial for how these panels were secured can be found at Deep Roots at Home. You can make a smaller one with garden fencing and small stakes if you don’t need the height of the cattle panels. Height is definitely something to consider especially if those harvesting are not that tall. Taller structures may also be at the mercy of high winds.
Type 4: Tripod/Teepee
I’ve combined the last group since they are pretty similar in structure.
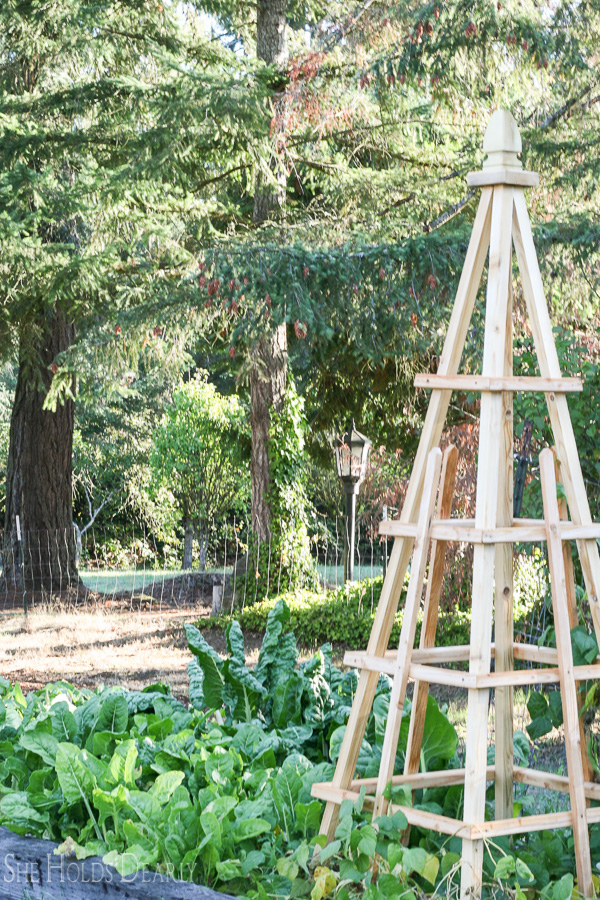
Photo Credit She Holds Dearly
These are simply gorgeous with the finial on top! I have visions of multiple of these set up in the garden along with some of the metal bed frames arranged in garden “beds”. I think it would look amazing and so inviting! The reality is I’m already feeling short on time so I’m probably choosing the cattle panel option at least for this year but I’m going back to She Holds Dearly for the instructions when I’m ready to build the pretty ones.
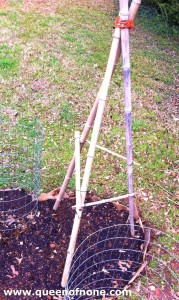
Photo Credit Queen of None
A basic tripod trellis like this one from Queen of None can be secured with rope and installed quickly . Tying it All Together has a great YouTube video here that gives step by step directions on how to lash the poles together.I may have to install one of these bean teepees purely for the fun of it. Artful Parent has several options and I think it’s pretty safe to say that if you have kids and a teepee trellis the kids are going to try and get in it so you might as well provide an option where it’s ok and even encouraged. This could also be good distraction for kids while you are working in the garden.
Good luck and happy trellising!! Which one is your favorite?
